Understanding Vagrant (A beginner's Guide).
Vagrant is an open-source tool that helps us to automate the creation and management of Virtual Machines. We will understand how can we use it.


I will be sharing my understanding of 'Vagrant' and will set up a VM using the Vagrant box, Hope you learn something from this blog.
Note: I will be mostly doing everything in Windows so command may vary you can search for a similar command for macOS.
As I recently started my 'DevOps' learnings the first chapter itself is about "A tool for creating and provisioning VMs" and the first question that comes to my mind is why everyone is talking about virtualization, how virtualization helps, and what problem is it solving.
After searching I got some good articles on what 'virtualization' is and why we use it. Here are some of the articles you could consider reading:
- Top 6 benefits of Virtualization: circleci.com/blog/top-6-benefits-of-virtual..
- Virtualization Explained: youtube.com/watch?v=FZR0rG3HKIk
Why vagrant?
Vagrant is a development environment automation tool. It accomplishes this by leveraging virtual machines with VirtualBox, VMWare, or cloud providers like AWS, GCP, etc. It’s primarily designed to standardize environments across platforms. It makes it quite easy once you get familiar with the basic commands and the 'Vagrantfile' configurations, you are gonna love it.
How does vagrant work?
Vagrant makes it easy to create reproducible virtualized environments. Machines are provisioned on top of VirtualBox, VMWare, AWS, or any other provider. You can use a single shell script to automatically install and manage software as well, Vagrant does this with the help of Vagrantfile.
A Vagrantfile is a configuration file or to be precise it defines a "box" where all the VM-related configurations (like network, memory, and startup scripts) are defined. I also define which provisioner to run (VirtualBox. Vmware or Hyper-v). Once this is seen we are good to go.
DevOps teams can use Vagrant to spin up multiple VMs running different Linux distributions to test configuration management in different systems. It also makes it easy to create disposable environments to experiment with different technologies.
How to create VMs through vagrant?
Let's create an Ubuntu VM, keep in mind that Vagrant is a 'Command-Line tool' it does not have a GUI. So, you can install any good shell-like GitBash, or use Powershell I do not recommend using normal windows shell.
You can install GitBash from here: git-scm.com/downloads You also need to install VirtualBox, can do it from here: virtualbox.org/wiki/Downloads
You have to install 'Vagrant' as well, So if you have chocolatey install you can type this command:
choco install vagrant
If you do not have it installed, you can go to Vagrant's official website and download it from there {vagrantup.com/docs/installation}.
Let's go step by step:
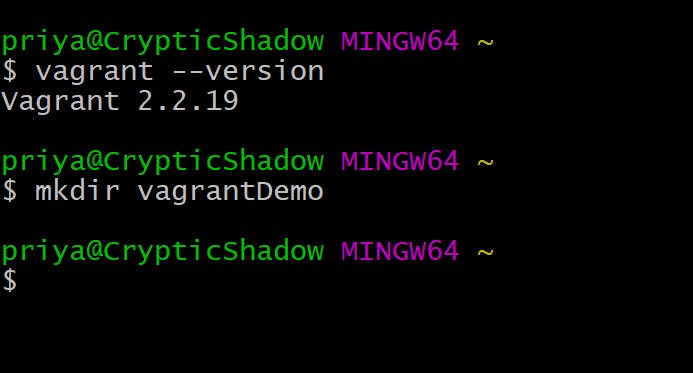
Step 1: Check your vagrant version and create a directory for our vagrant demo.
vagrant --version mkdir vagrantDemo
Step 2: Going inside that folder and initialize vagrant.
cd vagrantDemo/
Command: vagrant init [name [url]]
This initializes the current directory to be a Vagrant environment by creating an initial Vagrantfile if one does not already exist.
If a first argument is given, it will prepopulate the config.vm.box setting in the created Vagrantfile.
If a second argument is given, it will prepopulate the config.vm.box_url setting in the created Vagrantfile.
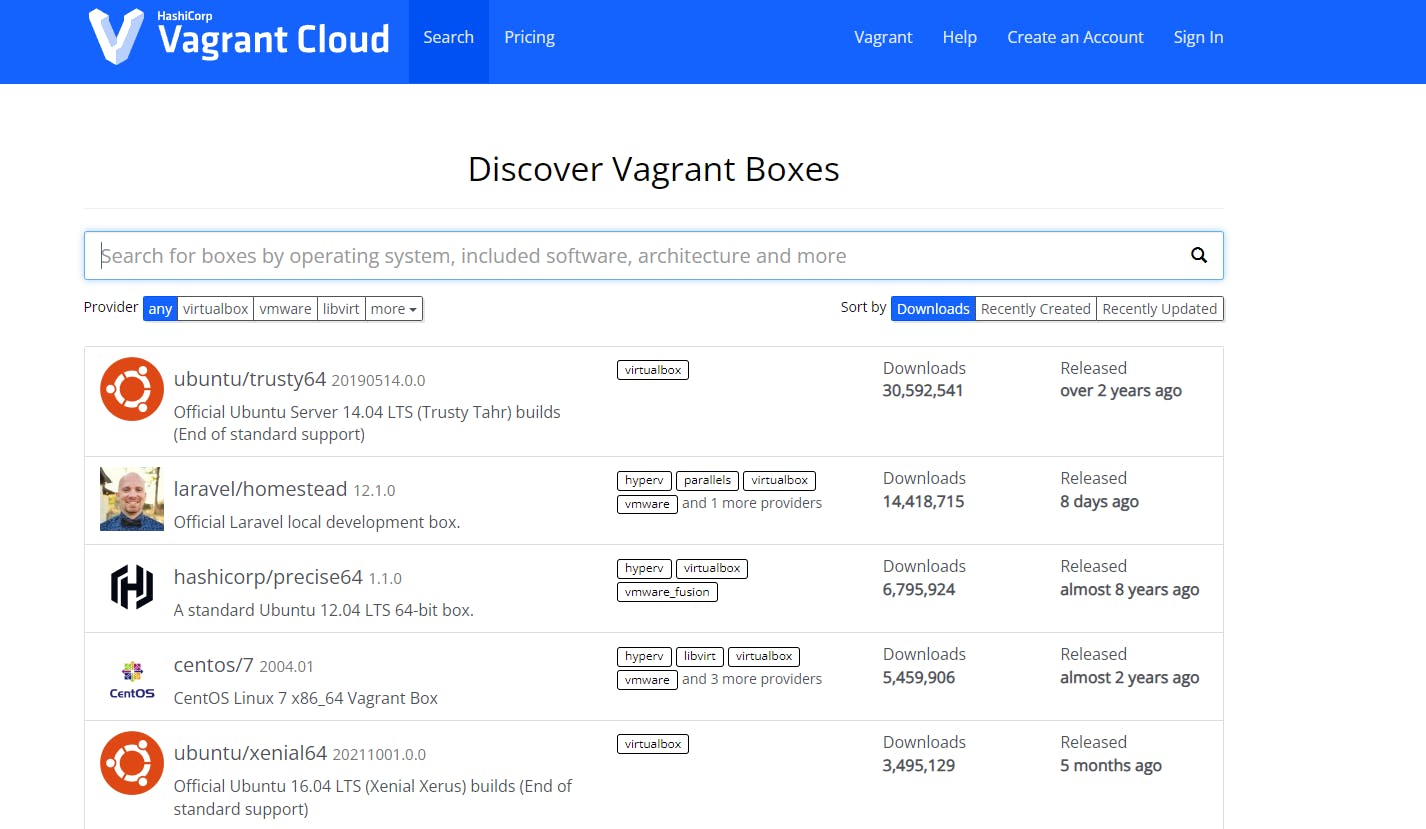
there are several boxes but we are going to use ubuntu/trusty64 as that's what we want.
Run this command inside your vagrantDemo folder:
vagrant init ubuntu/trusty64
You will see something like this:

if you have VS code installed editor run this command:
code .
Otherwise:
ls
You can now see a Vagrantfile got created in that folder which looks like this:
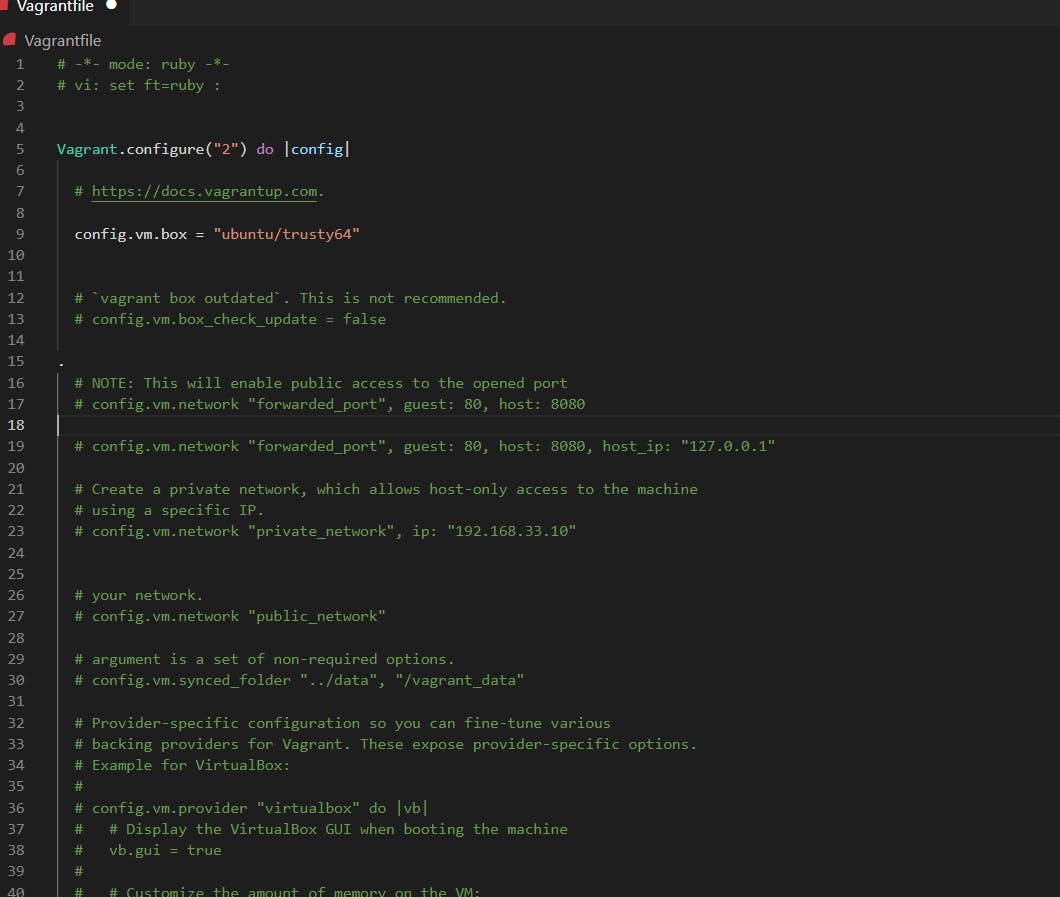
This is a default Vagrantfile where we gonna configure out VMs settings(like network, memory, etc)
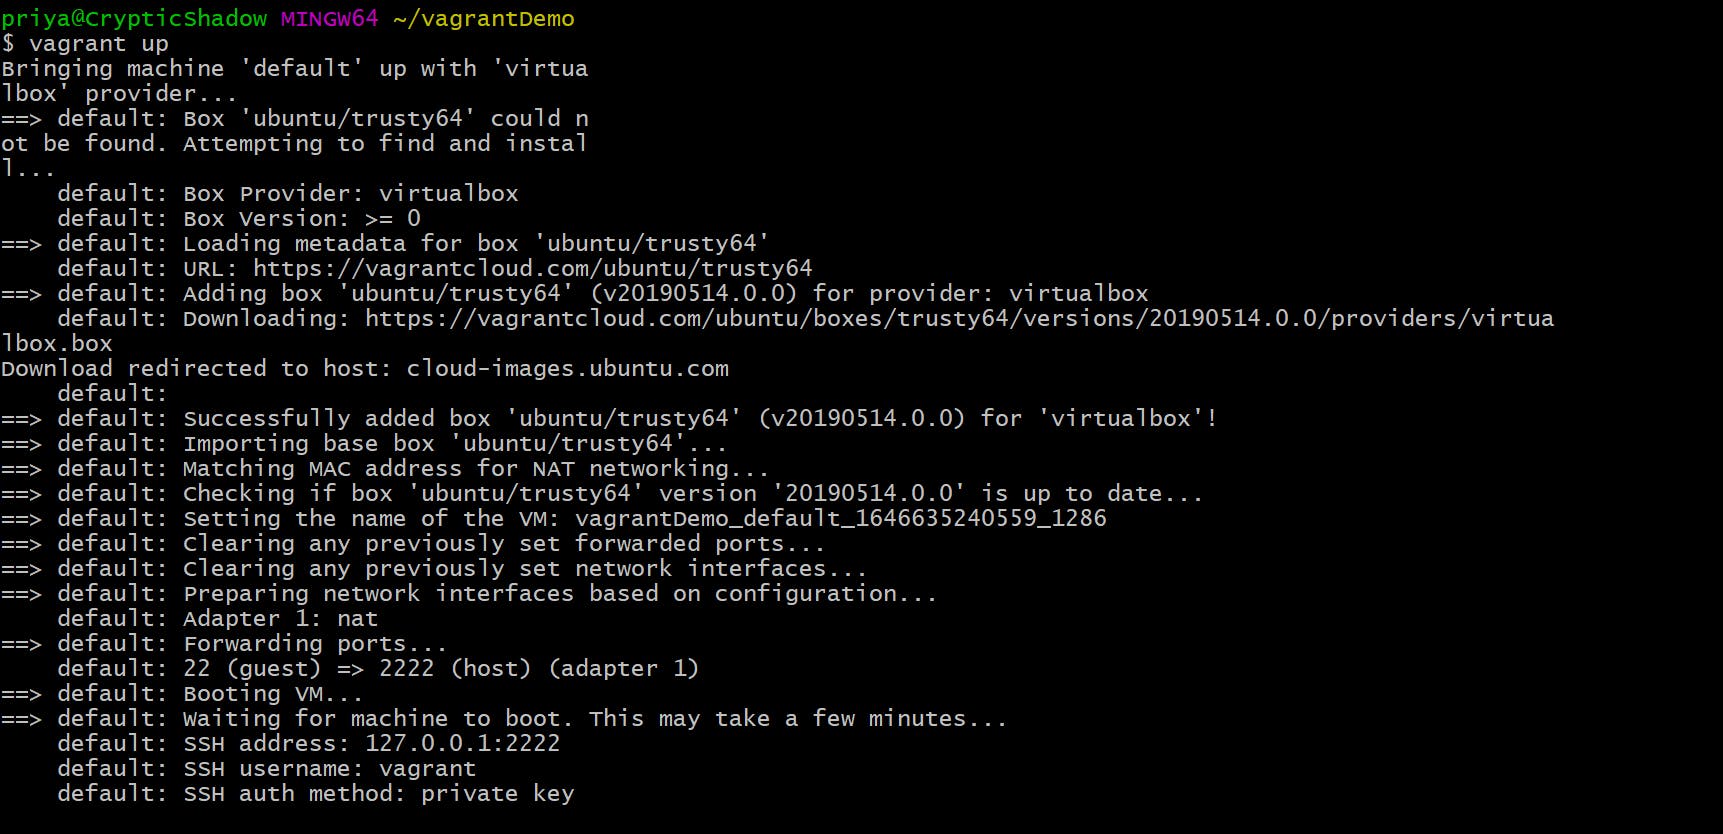
Step 3: To spin up a VM, run this command:
vagrant up You will see something like this:
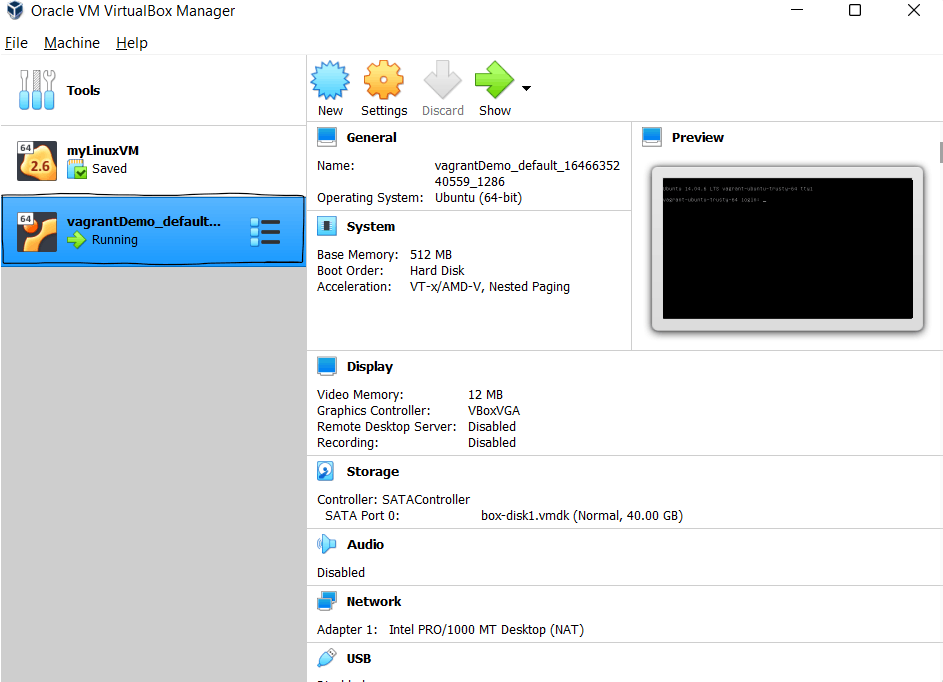
and you can now see your VM running created and running inside your VirtualBox:
That's it for this post, we will understand the 'Vagrantfile' in the upcoming article as this has already become quite lengthy.